Looking for Instructions?
- Winter Snowflake Bracelet Kit Instructions
- Winter Dreams Bracelet Kit Instructions
- White Christmas Bracelet Kit Instruction
- Victorian Chic Bracelet Kit
- United Heart Bangle Bracelet Kit Instructions
- United Bracelet Kit
- United Bangle Bracelet Kit Instructions
- Tourmaline Stretch Bracelet Kit Instructions
- Totally Turquoise Bracelet Kit Instructions
- Temping Tourmaline Bracelet Kit Instructions
- Tanzanite Glitter Bracelet Kit Instructions
- Tantalizing Tube Bangle Bracelet Kit Instructions
- Tahitian Nights Bracelet Kit Instructions
- Swarovski Spike Double Tube Bracelet Kit Instructions
- Swarovski Rose Gold Spike Bracelet Kit Instructions
- Swarovski Letra Bracelet Kit Instructions
- Swarovski Crystal & Tree Of Life Charm Bracelet Kit Instructions
- Stunning Murano Bracelet Kit
- String of love Bracelet Kit Instruction
- Sterling Marque Bracelet Kit Instructions
- Star Shine Bracelet Kit Instructions
- Stacked Treasures Bracelet Kit Instructions
- Stacked Silver Bracelet Kit Instructions
- Sparkling Gemstone Weave Bracelet Kit Instructions
- Silver Leaf with Jet Stone and Pyrite Bracelet Kit Instructions
- Shades of Blue Bracelet Kit
- Satin and Shine Gemstone Bracelet Kit
- Rose Gold Confetti Bracelet Kit Instructions
- Rose Glitter Bracelet Kit Instructions
- Rondell Gemstone Bracelet Kit Instructions
- Reflections Bracelet Kit Instructions
- Red Velvet Christmas Bracelet Kit Instructions
- Re-Designed Imperial Bangle Bracelet Kit
- Purple Kunzite Hex-Cut Charm Bracelet Kit
- Pretty in Pink Bracelet Kit Instructions
- Precious Treasure Bracelet Kit Instructions
- Pink Opal Lotus Bracelet Kit
- Pink Opal & Rose Gold Bracelet Kit Instructions
- Petite Tree of Life Gemstone Bracelet - Jewelry Making Kit Instructions
- Petite Mixed Metal Stacked Silver Bracelet Instructions
- Petite Hope Bracelet Kit Instructions
- Petite Fall Bracelet Kit Instructions
- Petite Cross Bracelet Kit Instructions
- Peach Sunstone Gemstone Bracelet Kit Instructions
- Pave Hematite Bracelet Kit Instructions (Free Gift)
- Pastel Perfection Bracelet Kit Instructions
- Paradise Shine Swarovski Bicone Weave Bracelet - Jewelry Making Kit Instructions
- Paradise Shine Fine Rock Tube Bracelet Kit Instructions
- Onyx Gemstone Wrap Bracelet Instructions
- Ocean Confetti Bracelet Kit Instructions
- Obsessed with Obsidian Bracelet Kit Instructions
- Natural Pink Opal Gemstone Bracelet Kit Instructions
- Natural Larimar Pillow Bead Gemstone Bracelet Kit Instructions
- Murano Mothers Day Bracelet Kit Instructions
- Morganite Gemstone Bracelet Kit Instructions
- Moonstone Silver Night Bracelet Kit Instructions
- Moonlight Chain Linked Bracelet Kit Instructions
- Moonlight Chain Linked Bracelet Kit
- Mixed Morganite Gemstone Bracelet Kit Instructions
- Mixed Moonstone Gemstone Bracelet Kit Instructions
- Mixed Metals Gemstone Drop Bracelet Kit Instructions
- Mixed Metals Double Spike Bracelet Kit Instructions
- Mixed Metal Station Bracelet Kit Instructions
- Mixed Metal Link Bracelet Kit Instructions
- Minimalist Metals Bracelet Kit Instructions
- Midnight Weave Bracelet Kit Instructions
- Midnight Magic Gemstone Bracelet Kit Instructions
- Magnificent Moonlight Bracelet Kit Instructions
- Magnificent Metals Bangle Bracelet Kit Instructions
- Luxe Gemstone Bracelet Kit Instructions
- Lovely Lotus Bracelet Kit Instructions
- Lovely Larimar and Apatite Bracelet Kit Instructions
- Love is in the Air Bracelet Kit Instructions
- Little Larimar Gemstone Bracelet Kit Instructions
- Linked Turquoise Bracelet Kit Instructions
- Leopard Skin Agate Gemstone Bracelet Instructions
- Larimar Gemstone Bracelet Kit Instructions
- Lapis and gold gemstone bracelet - jewelry making kit Instructions
- Kyanite Tree of Life Bracelet Kit Instructions
- Jet Hematite And Baroque Pearl Bracelet Kit
- Illuminating Tanzanite Bracelet Kit Instructions
- Illuminating Swarovski Vitrail Bracelet Kit Instructions
- Illuminating Swarovski Indicolite Bracelet and Earring Kit Instructions
- Illuminating Iris Bracelet Kit Instructions
- Illuminating Indicolite Bracelet Kit Instructions
- Hypersthene and Navajo Pearl Jewelry Kit Set Instructions
- Hexagon Gemstone Tassel Bracelet Kit Instructions
- Green with Envy Bracelet Kit Instructions
- Green Opal and Jade Bracelet Kit Instructions
- Golden Shadow Spike Bracelet Kit Instructions
- Golden Shadow Fine Rock Tube Bracelet Kit Instructions
- Golden Evening Out Bracelet Kit Instructions
- Golden Borealis Bracelet Kit Instructions
- Glittering Gold Bracelet Kit Instructions
- Glitter Bracelet Kit Instructions
- Gemstone Stack Bracelet Kit Instructions
- Gemstone Mini Stack Bracelet Kit Instructions
- Gemstone Bolo Bracelet Kit
- Gems of the Sea Bracelet Kit Instructions
- Gems of the Earth Bracelet Kit Instructions
- Galaxy Bracelet Kit Instructions
- Fine Rock Bermuda Bracelet Kit Instructions
- Fancy Jasper Tassel Bracelet Kit
- Faceted Star and Moonstone Bracelet Kit
- Faceted Larimar Gemstone Bracelet Kit Instructions
- Faceted Hexagon Gemstone Stack Bracelet Kit Instructions
- Evening Out Bracelet Kit Instructions
- Enchanted Bracelet and Earring Kit Instructions
- Easy Elegance Bracelet Kit Instructions
- Dragons Blood Jasper Gemstone Bracelet Kit Instructions
- Double Strand Blue African Turquoise Bracelet Kit Instructions
- DIY Jewelry Kit - Very Berry Bracelet Instructions
- DIY Jewelry Kit - Swarovski Jonquil Butterfly Bracelet Instructions
- DIY Jewelry Kit - Swarovski Caviar Crystal Bracelet Kit Instructions
- DIY Jewelry Kit - Sparkling Chalcedony Bracelet Ki Instructions
- DIY Jewelry Kit - Shimmering Swan Bracelet Kit Instructions
- DIY Jewelry Kit - Madeira and Murano Bracelet and Earring Kit Instructions
- DIY Jewelry Kit - Butterflies In Flight Bracelet Or Anklet Instructions
- DIY Jewelry Kit - Blue Dragonfly Bangle Bracelet Kit
- DIY Jewelry Kit - Aquatic Collection Anklet / Bracelet Instructions
- DIY Gemstone Bracelet Kit - Larimar Lotus Bracelet Instructions
- DIY Gemstone Bracelet / Earring Kit - Brazilian Kyanite Bracelet and Earring Instructions
- DIY Bracelet Kit - The Imperial Bracelet Instructions
- DIY Bracelet Kit - Tantalizing Tila Bracelet Instructions
- DIY Bracelet Kit - Seaside Larimar Bracelet Kit Instructions
- DIY Bracelet Kit - Pristine Pyramid Bracelet Instructions
- DIY Bracelet Kit - Petite Pyramid Bracelet Kit Instructions
- DIY Bracelet Kit - Petite Precious Metals Bracelet Instructions
- DIY Bracelet Kit - Mixed Metal Stacked Silver Bracelet Instructions
- DIY Bracelet Kit - Mini Murano Bracelet Instructions
- DIY Bracelet Kit - Luxe Swarovski Bracelet Instructions
- DIY Bracelet Kit - Jade Dragonfly Bracelet Instructions
- DIY Bracelet Kit - Girls love Pearls Instructions
- DIY Bracelet Kit - Blue Chalcedony Flower Bracelet Instructions
- DIY Bracelet Kit - 3 In 1 Shimmering Stack Bracelet
- Denim Dreams Bracelet Kit Instructions
- Delicate Dragonfly Bracelet Kit Instructions
- Dark Shadow Bracelet Bangle Kit Instructions
- Dainty Oval Bracelet Kit
- Crystal Shamballa Bracelet Kit Instructions
- Crystal Paradise Shine Fine Rock Tube Bangle Bracelet Kit Instructions
- Crystal Oval Shamballa Bracelet Kit
- Crystal Coral Bracelet Kit Instructions
- Cracked Agate Stretch Bracelet Kit
- Cozy Colors Bracelet Kit Instructions
- Classic Rock Candy Bracelet Kit Instructions
- Christmas Bows Bracelet Instructions
- Center Stage Bracelet Kit Instructions
- Celestite and Aquamarine Bracelet Kit Instructions
- Carmel Confetti Bracelet Kit Instructions
- Captured Chrysolite Bracelet Kit Instructions
- Candy Cane Christmas Bracelet Weave Kit Instructions
- Butterfly Swarovski Pearl Bracelet Kit Instructions
- Burma Jade Dragonfly Bracelet Kit Instructions
- Brecciated Jasper Gemstone Bracelet Kit Instructions
- Botswana Agate and Charoite Gemstone Stack Bracelet Kit Instructions
- Bold Statement Bangle Bracelet Kit Instructions
- Blended Topaz Bracelet Kit Instructions
- Beautiful Black Diamond Bracelet Kit Instructions
- Azore Reflections Bracelet Kit Instructions
- Aurora Bracelet Kit Instructions
- Aurora Bracelet Jewelry Kit Instructions
- August Birthstone Bracelet Kit Instructions
- Amethyst Gemstone Stretch Bracelet Kit Instructions
- Amethyst Dreams Bracelet Kit Instructions
- Amethyst Chariote Bracelet Kit Instructions
- Amazonite with African turquoise Gemstone Bracelet Kit Instructions
- African Sunset Murano Bracelet Kit Instructions
- Winter Snowflake Pendant Kit Instructions
- Winter Snowflake Earring Kit Instructions
- Turtle Dove Christmas Earring Kit Instructions
- Swarovski Pave Christmas Ornament Earring Kit Instructions
- Sparkling Snowflake Earring Kit Instructions
- Sparkling Santa Earring Kit Instructions.
- Sparkling Rudolph Earring Kit Instructions
- Sparkling Angel Ornament Kit Instructions
- Snowball Drop Earring Kit Instructions
- Silver Bells Christmas Earring Kit Instructions
- Rudolph Christmas Tree Ornament Kit Instructions
- Poinsettia Ornament Kit Instructions
- Pave Snowball Christmas Earring Kit Instructions
- Pave Santa Christmas Ornament Instructions
- Nut Cracker Christmas Earring Kit Instructions
- Mini Santa Christmas Sun Catcher / Ornament Kit Instructions
- Mini Ornament Christmas Earring Kit
- Lil Rudolph Christmas Earring Kit Instructions
- Holiday Bell Christmas Ornament Kit
- Grinch Christmas Ornament Kit Instructions
- Golden Drop Christmas Tree Earring Kit Instructions
- Golden Christmas Tree Earring Kit Instructions
- Golden Candle Christmas Earring Kit Instructions
- Golden Angel Christmas Ornament Kit
- Ginger Bread Man Earring Kit Instructions
- Christmas Wreath Earring Kit Instructions
- Christmas Stocking Earring Kit Instructions
- Christmas Gnome Earring Kit Instructions
- Christmas Bows Bracelet Instructions
- Captured Crystal Snowflake Earring Kit Instructions
- Candy Cane Christmas Bracelet Weave Kit Instructions
- 2018 Candy Cane Earring Kit Instructions
- Winter Sparkle Christmas Ornament
- Very Valentines Sun Catcher Kit
- Valentines Day Sun Catcher Kit Instructions
- Valentines Day Heart Crystal Creation Kit Instructions
- Spring Forward Sun Catcher Kit Instructions (cross)
- Spring Butterfly Sun Catcher Instructions
- Sparkling Shamrock Earring Kit Instructions
- Sparkling Christmas Tree Ornament Kit Instructions
- Sparkling Angel Ornament Kit Instructions
- Rudolph Christmas Tree Ornament Kit Instructions
- Purple Passion sun Catcher Kit Instructions
- Puppy Paws Sun Catcher Kit
- Poinsettia Ornament Kit Instructions
- Pave Snowman Christmas Ornament Kit Instructions
- Pave Santa Christmas Ornament Instructions
- Murano and Strass Sun Catcher Kit
- Mini Santa Christmas Sun Catcher / Ornament Kit Instructions
- Mini Ornament Christmas Earring Kit
- Lucky the Leprechaun Sun Catcher Kit Instructions
- Holiday Bell Christmas Ornament Kit
- Halloween Sun Catcher Instructions
- Guardian Angel Sun Catcher Kit Instructional Video
- Grinch Christmas Ornament Kit Instructions
- Golden Angel Christmas Ornament Kit
- Flowers (May flowers)
- Fire Opal Flower Kit
- Fancy Flower Sun Catcher Kit Instructions
- DIY Sun Catcher Kit - Tangerine Dreams Earring Kit Instructions
- DIY Sun Catcher Kit - Pendulum Drop Sun Catcher Instructions
- DIY Sun Catcher Kit - Mom Sun Catcher Instructions
- DIY Sun Catcher Kit - Heavenly Angel Sun Catcher
- DIY Kit - Swarovski Butterfly Suncatcher Instructions
- DIY Jewelry Kit - Limited Release - Swarovski Light Siam Sun Catcher Instructions
- DIY Crystal Creations Kit - Stunning Pink Flower Kit Instructions
- DIY Crystal Creation - Lovely Lavender Kit
- Crystal Violet Angel Suncatcher Kit Instructions
- Crystal Cross Kit Instructions
- Crystal Creation Kit - Sunshine Sunflower Instructions
- Crystal Cat Sun Catcher Kit Instructions
- Christmas Sparkle Ornament Kit Instructions
- Christmas Ornament Kit Instructions
- Christmas Creation Kit Instructions
- Captured Crystal Snowflake Sun Catcher Kit Instructions
- Bumble Ornament Kit Instructions
- Artistic Expressions Sun Catcher Kit Instructions
- 7 Chakra Sun Catcher Kit
- Winter Snowflake Earring Kit Instructions
- Wicked Witch Earring Kit Instructions
- Vitrail Heart Earring Kit
- Vintage Swarovski Modular Array Earring Kit Instructions
- Vintage Centerstage Earring Kit Instructions
- Valentines Day Bear Earring Kit Instructions
- United Lantern Earring Kit
- United Heart Earring Kit Instructions
- Two Tone Acrylic Earring Kit Instructions (Ocean Vibe, Sea Breeze, Sparkling Wine)
- Twinkle Little Star Earring Kit Instructions
- Twilight Sparkle Earring Kit Instructions
- Turtle Dove Christmas Earring Kit Instructions
- Too Chic to Be Square Earring Kit Instructions
- Tin Man Earring Kit Instructions
- Thanksgiving Turkey Earring Kit
- Swarovski Pave Christmas Ornament Earring Kit Instructions
- Swarovski Fine Rock Contour Earring Kit Instructions
- Stunning Silver Tear Drop Earring Kit Instructions
- Starshine Earring Kit
- Stars and Stripes Earring Kit Instructions
- Star Light Earring Kit Instructions
- Stacked Smoke Topaz Earring Kit Instructions
- Stacked Silver Earring Kit Instructions
- Spring Forward Sun Catcher Kit Instructions
- Sparkling Snowflake Earring Kit Instructions
- Sparkling Sea Turtle Earring Kit Instructions
- Sparkling Rudolph Earring Kit Instructions
- Silver Statement Earring Kit Instructions
- Silver Drop Earring Cuff Kit Instructions
- Silver Bells Christmas Earring Kit Instructions
- Silver and Gold Earring Kit Instructions
- Shades of Spring Earring Kit Instructions
- Shades of Spring Earring - Jewelry Making Kit Instructions
- Shades of Blue Earring Kit
- Seraphanite Gemstone Earring Kit
- Scary Skulls Halloween Earring Kit Instructions
- Scarecrow Earring Kit Instructions
- Rose Gold CZ Drop Earring Kit
- Retro Rings Earring Kit
- Pretty Little Pearls Earring Kit Instructions
- Pretty in Pink Earring Kit Instructions
- Precious Treasures Earring Kit Instructions
- Powder Rose Earring Kit Instructions
- Petite Fall Tube Earring Kit Instructions
- Peep Trio Earring Kit Instructions
- Peep Chicks Earring Kit Instructions
- Paws of Love Earring Kit Instructions
- Pave Snowball Christmas Earring Kit Instructions
- Outer Limits Earring Kit Instructions
- Nut Cracker Christmas Earring Kit Instructions
- Mouse in the House Acrylic Earring Kit Instructions
- Mixed Metals Heart Drop Earring Kit Instructions
- Mixed Metals Gold and Silver Link Earring Kit Instructions
- Mixed Metal Drop Earring Kit Instructions
- Minimalist Metals Earring Kit
- Midnight Weave Earring - Jewelry Making Kit Instructions
- Magical Moonstone Earring Kit Instructions
- Love is in the Air Earring Kit Instructions
- Little Angel Earring Kit Instructions Free Gift
- Lil Rudolph Christmas Earring Kit Instructions
- Light Rose Heart Earring Kit Instructions
- Larimar Faceted Gemstone Earring Kit Instructions
- Larimar and Pearl Earring Kit Instructions
- Labradorite Tear Drop Earring Kit Instructions
- Jubilee the Busy Bee Earring Kit Instructions
- January Birthstone Earring Kit Instructions
- Illuminating Swarovski Indicolite Bracelet and Earring Kit Instructions
- Hypersthene and Navajo Pearl Jewelry Kit Set Instructions
- Heart Drop Earring Kit Instructions (Glittering Galaxy /Sparkling Siam Heart Earring Kit)
- Heart Drop Earring Kit Instructions
- Happy Humming Bird Earring Kit
- Golden Triangle Earring Kit
- Golden Statement Acrylic Earring Jewelry Making Kit Instructions
- Golden Starburst Earring Kit Instructions
- Golden Drop Earring Kit Instructions
- Golden Captured CZ Earring - Jewelry Making Kit Instructions
- Golden Candle Christmas Earring Kit Instructions
- Golden Bliss Earring Kit Instructions
- Going Gold Earring Kit Instructions
- Glittering Grace Earring Kit Instructions
- Glitter Earring Kit Instructions
- Ginger Bread Man Earring Kit Instructions
- Ghost Trio Halloween Earring Kit Instructions
- Gemstone Wrap-Up Earring Kit Instructions (very Berry earring kit)
- Gems of the Earth Earring Kit Instructions
- Floating Crystal CZ Earring Kit Instructions
- Falling for you Earring Kit Instructions
- Faceted Hexagon Gemstone Earring Kit Instructions
- Enchanted Bracelet and Earring Kit Instructions
- Easter Drop Earring Kit Instructions
- Drops of Crystal Earring Kit Instructions
- Dragon Fly Earring Kit Instructions
- DIY Jewelry Kit - Madeira and Murano Bracelet and Earring Kit Instructions
- DIY Jewelry Kit - Luminous Lampwork Earring and Pendant Instructions
- DIY Jewelry Kit - Floating Butterfly Earring Instructions
- DIY Jewelry Kit - Diamond Pearl Earring Kit Instructions
- DIY Jewelry Kit - Crystal Starfish Earring Kit
- DIY Jewelry Kit - Acrylic Chevron Earring Kit Instructions
- DIY Earring Kit - Stacked Silver Pyramid-Cut Earrings
- DIY Earring Kit - Stacked Silver Earrings Instructions
- DIY Earring Kit - Penta Drop Earring Instructions
- DIY Earring Kit - Jet Hematite Delight Instructions
- DIY Earring Kit - Easter Basket Earring Instructions
- DIY Earring Kit - Dragonfly Drop Earring Instructions
- Curved Acrylics Earring Kit Instructions
- Crystal Moonlight Heart Drop Earring Kit
- Crystal Delight Earring Kit Instructions
- Crystal AB Starfish Earring Kit Instructions
- Christmas Wreath Earring Kit Instructions
- Christmas Stocking Earring Kit Instructions
- Christmas Gnome Earring Kit Instructions
- Cascading Crystal Earring Kit
- Captured CZ Drop Earring Kit Instructions
- Captured Crystal Snowflake Earring Kit Instructions
- Captured Crystal Earring Kit
- Bodacious Bordeaux Earring Kit Instructions
- Blue Moon Earring - Jewelry Making Kit Instructions
- Blended Topaz Earring Kit Instruction
- Bermuda Blue Heart Drop Earring Kit
- Beautiful Butterfly Earring Kit Instructions
- Azore Drop Earring Kit
- Aurora Earring Kit Instructions
- Aurora Earring Jewelry Kit Instructions
- All Seeing Eye Earring Kit Instructions
- Air Blue Opal Rock Candy Earring Kit Instructions
- Acrylic Heart Drop Earring Kit Instructions (Galaxy Heart, Sparkling Heart)
- 3 Tier Octagon Earring Kit Instructions
- 2018 Candy Cane Earring Kit Instructions
- Too Cute Pave Easter Bunny Earring Kit Instructions
- Peter Pearlescent Earring Kit Instructions
- Peep Trio Earring Kit Instructions
- Peep Chicks Earring Kit Instructions
- Easter Drop Earring Kit Instructions
- DIY Acrylic Earring Kit - Tri-Color Easter Eggs Instructions
- Bow the Bunny Earring Kit Instructions
- Witch Hat Earring Kit Instructions
- Witch Halloween Earring Kit Instructions
- Wicked Witch Earring Kit Instructions
- Tombstone Halloween Earring Kit Instructions
- Spooky Ghost Halloween Earring Kit Instructions
- Spooky Charm Halloween Bracelet Kit Instructions
- Sparkle Skull Halloween Earring Kit
- Skully the Skeleton Halloween Earring Kit Instructions
- Scary Skulls Halloween Earring Kit Instructions
- Scarecrow Earring Kit Instructions
- Pumpkin with Witches Hat Earring Kit Instructions
- Pumpkin Halloween Earring Kit
- Happy Pumpkin Halloween Earring Kit Instructions
- Halloween Trio Earring Kit Instructions
- Halloween Sun Catcher Instructions
- Ghost Trio Halloween Earring Kit Instructions
- Ghost Trio Halloween Earring Kit
- Frankenstein's Monster Halloween Earring Kit Instructions
- Dangling Spider Halloween Earring Kit
- Crystal Cat Earring Kit Instructions
- Coffin Halloween Earring Kit
- Cat Halloween Earring Kit
- Candy Corn Halloween Earring Kit Instructions
- Winter Snowflake Pendant Kit Instructions
- Vintage Swarovski Rocky Cut Necklace Kit Instructions
- Vintage Swarovski Cube Necklace Kit Instructions
- Two Tone Lariat Kit Instructions
- Stunning Silver Tear Drop Necklace Kit
- Stacked Silver Necklace Kit Instructions
- Silver Navette Necklace Kit Instructions
- Perfect Patina Necklace Kit Instructions
- Night Shimmer Lariat Necklace Kit Instructions
- Murano Lariat Necklace Kit Instructions
- Minimalist Necklace Kit Instructions
- Larimar Faceted Gemstone Necklace Kit Instructions
- Fall Leaf Pendant Kit Instructions
- DIY Jewelry Kit - Swarovski Double Frame Necklace Kit Instructions
- DIY Jewelry Kit - Luminous Lampwork Earring and Pendant Instructions
- Autumn Leaf Pendant Kit Instructions
- Aurora Necklace Kit Instructions
- Artistic Accents Necklace Kit Instructions
- Very Valentines Sun Catcher Kit
- Valentines Day Sun Catcher Kit Instructions
- Valentines Day Bear Earring Kit Instructions
- Too Cute Love Bear Earring Kit Instructions
- Powder Rose Earring Kit Instructions
- Love is in the Air Earring Kit Instructions
- Love is in the Air Bracelet Kit Instructions
- Crystal Moonlight Heart Drop Earring Kit
Vintage Centerstage Earring Kit Instructions
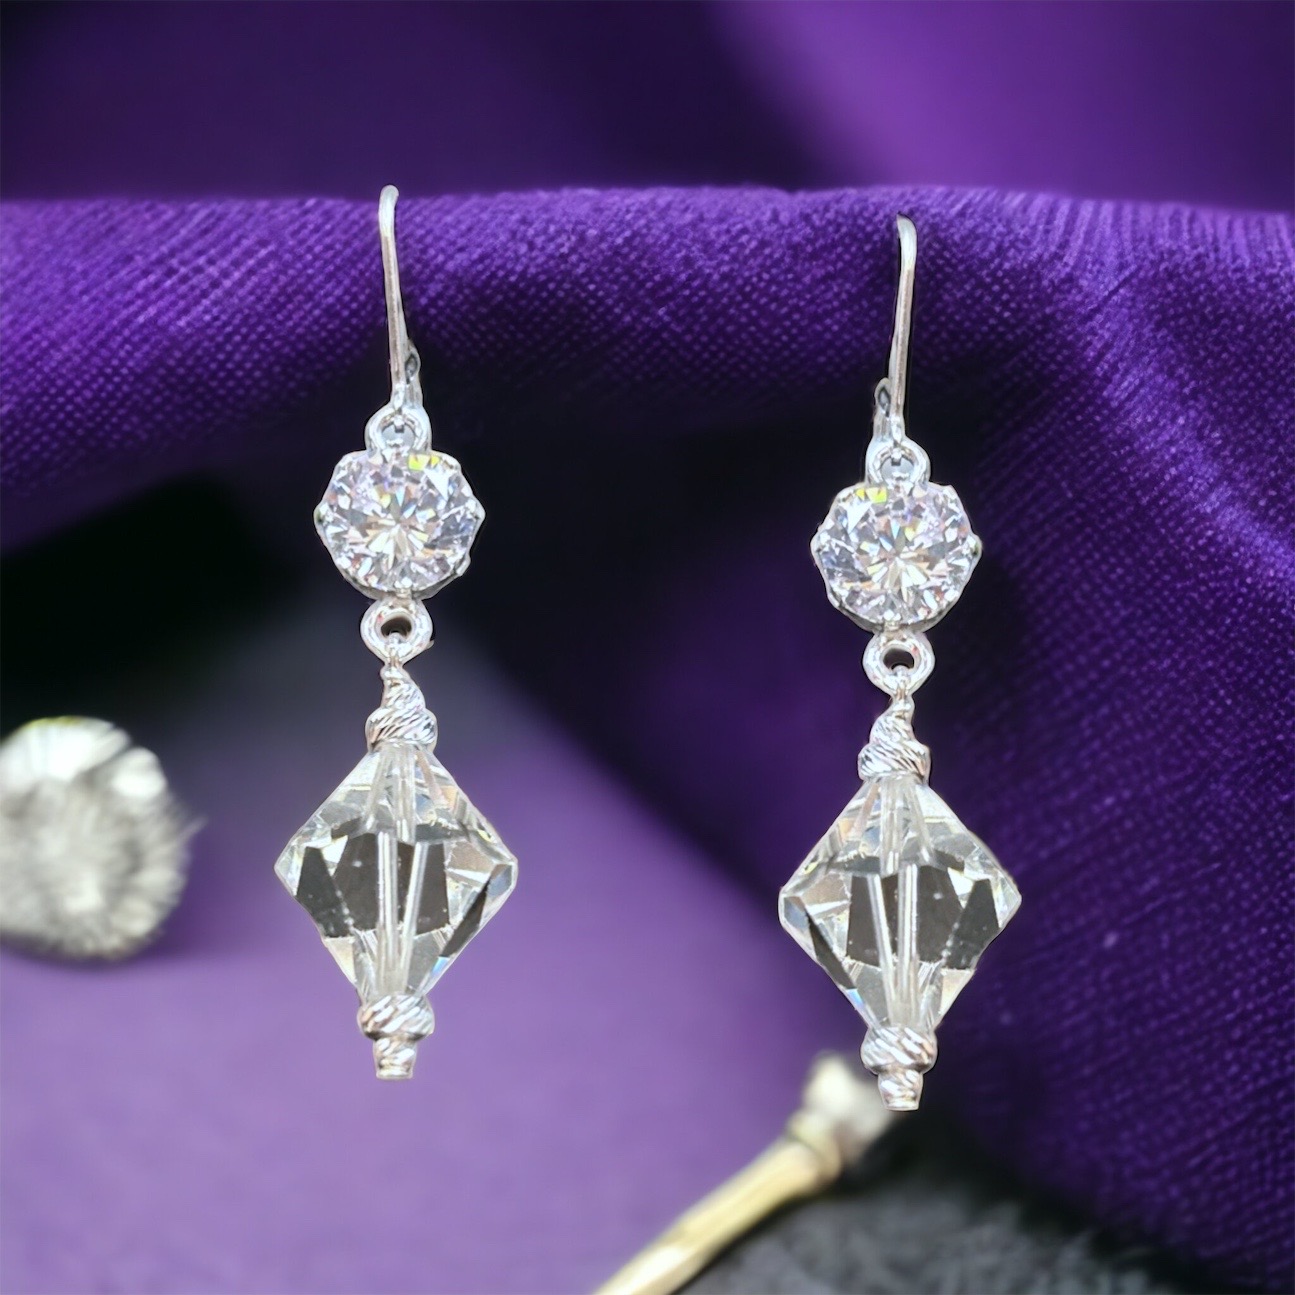
Step 1: Gather all your materials. Ensure that your working space is well-lit and organized so you can easily access all the components.
Step 2: Slide the following beads onto the head pin in this order:
- 2.5mm multi bead
- 4.5mm multi rondell bead
- 14mm Swarovski crystal
- 4.5mm multi rondell bead
- 2.5mm multi bead
Step 3: Holding the head pin, use the round-nose pliers to start forming a loop. Before closing the loop completely, slide on the CZ connector.
Step 4: Continue wrapping the wire around the base of the loop to create a few coils. This not only secures the beads in place but also gives a professional finish. The technique, often referred to as a "wrapped loop," ensures that your beads stay securely on the earring.
Step 5: Trim any excess wire protruding from the loop using wire cutters or nippers.
Step 6: Open the loop on the bottom of the lever back earring component slightly. Attach the loop of the CZ connector to it.
Step 7: Close the loop securely on the lever back to ensure your earring dangle doesn't fall off.
Step 8: Repeat all the steps for the second earring to complete the pair.
Congratulations! You've created a stunning pair of Swarovski crystal earrings with multi rondell and multi beads, ready to be worn or gifted!
Updated on 23 May 2024
What are your Feelings?
Thanks for your feedback.
Sterling Silver Beads and Spacers
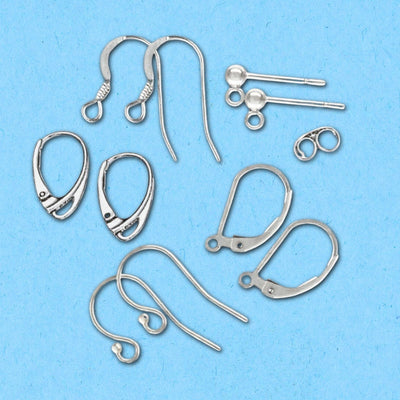
.925 Sterling Silver Earring Findings
.925 Sterling Silver Bracelet Tubes
.925 Sterling Silver Headpins & Eyepins
.925 Sterling Silver Jump Ring
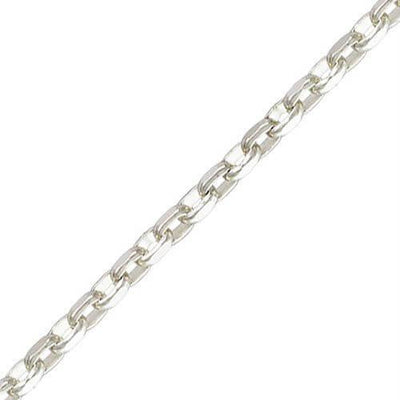
.925 Sterling Silver Chain by the Foot
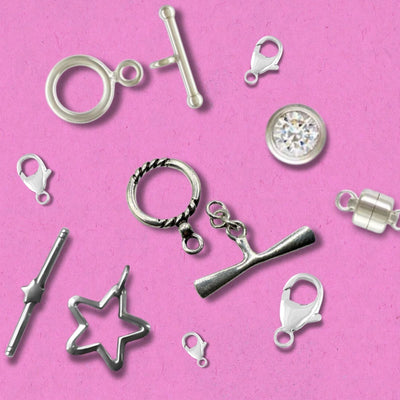
Sterling Silver Clasps and Connectors
.925 Sterling Silver Bails
.925 Sterling Silver Bead Caps
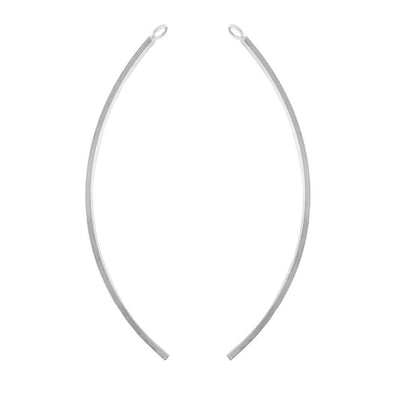
.925 Sterling Silver Curved Earring Findings
.925 Sterling Silver Finished Chains
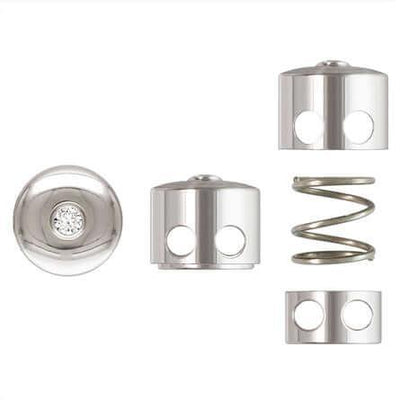
.925 Sterling Silver 2 Hole CZ Button Slider
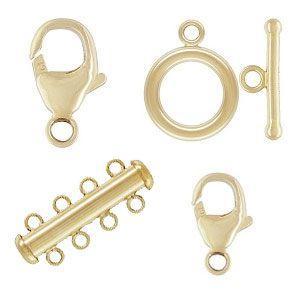
14K Gold Filled Toggles & Clasps
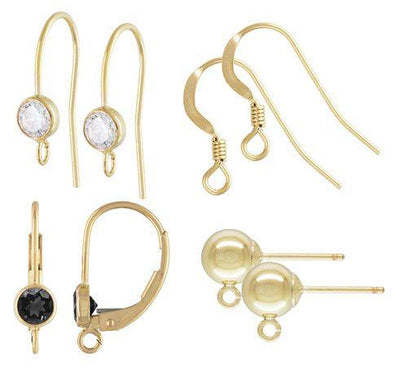
14K Gold Filled Earring Findings
14K Gold Filled Headpins and Eyepins
14K Gold Filled Open Jump Rings
14K Gold Filled Chain by the foot
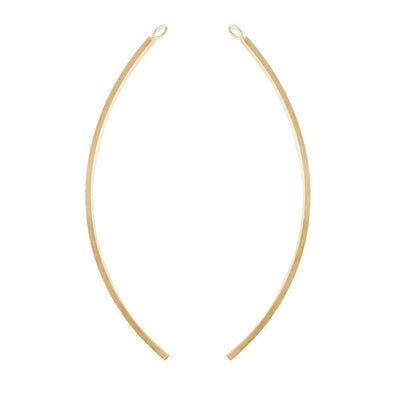
14K Gold Filled Curved Findings
14K Gold Filled Charms and Bracelets
14K Gold Filled Saucers
14K Gold Filled Bead Caps
14K Gold Filled Rosary Components
Gemstones Beads and Pendants
Murano Glass Beads
Squaredells
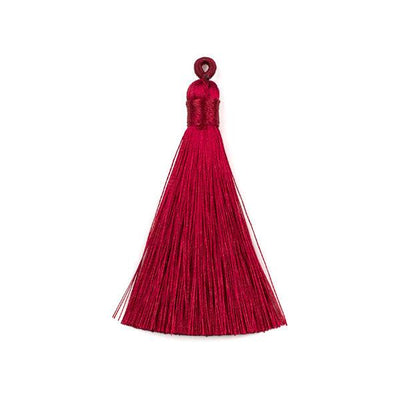
Tassels
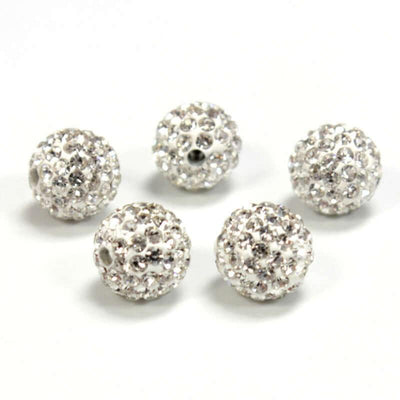
10mm Preciosa Pave Beads
14K Filled Gold Rondells
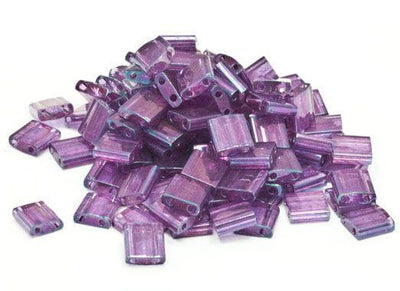
Tila Beads
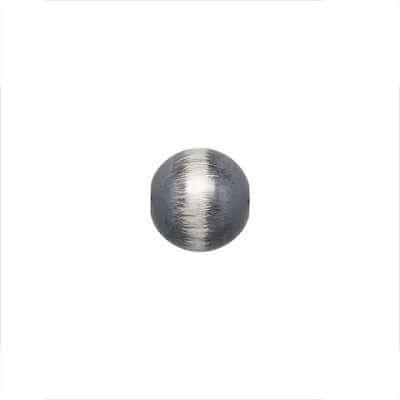
.925 Sterling Silver Navajo Pearl Bead

14K Gold Filled Saucers

Contour Beads | Silver Crystal Plate
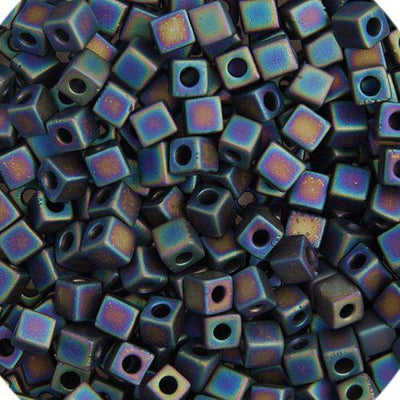
Cube Beads
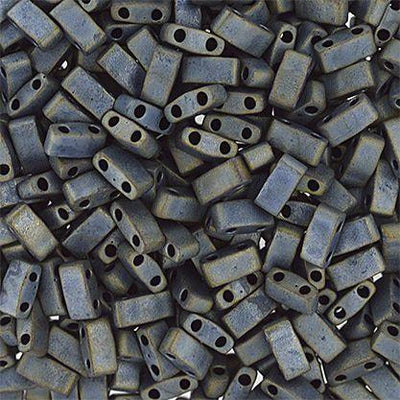
Half Cut Tila Beads
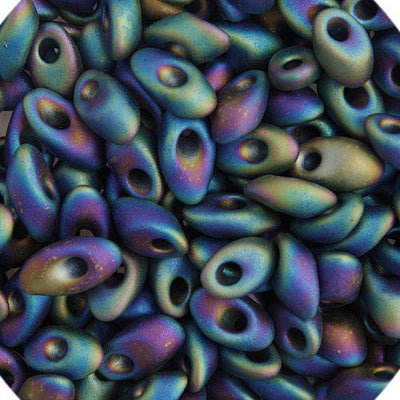
Long Magatama Beads
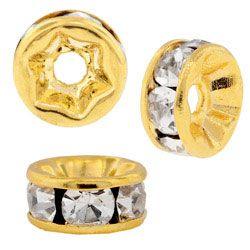
Gold Plated Rondelles with Swarovski Crystal
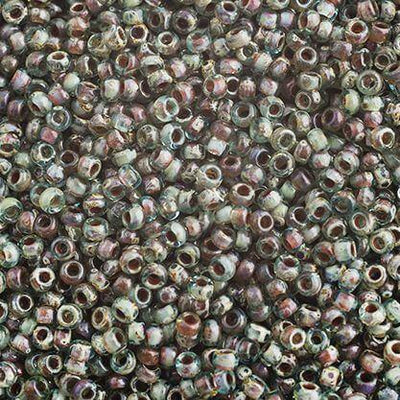
11/0 Picasso Beads
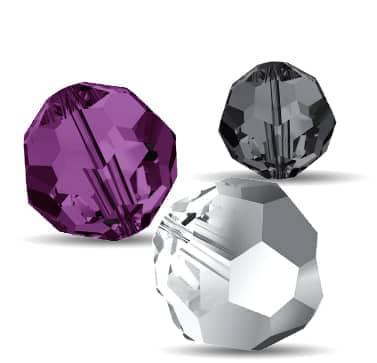
Swarovski Round Beads 5000
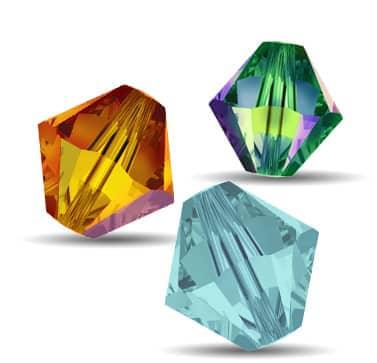
Swarovski Bicone Beads
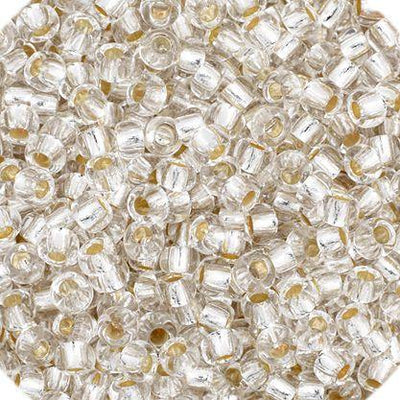
Preciosa 11/0 Cech Seed Beads
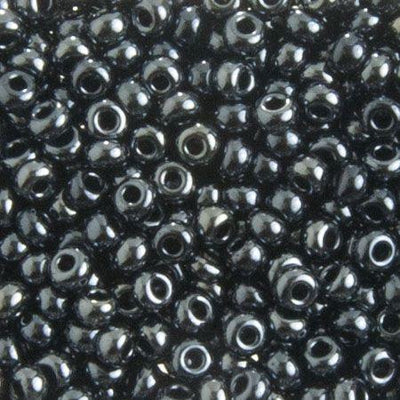
Preciosa 8/0 Czech Seed Beads
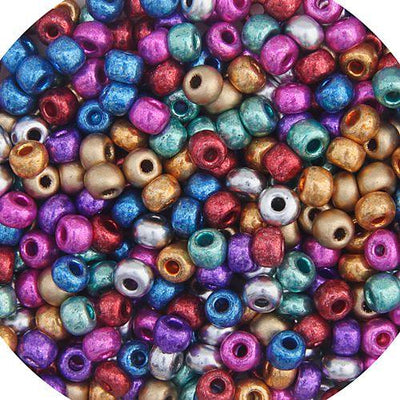
Preciosa 6/0 Czech Seed Beads
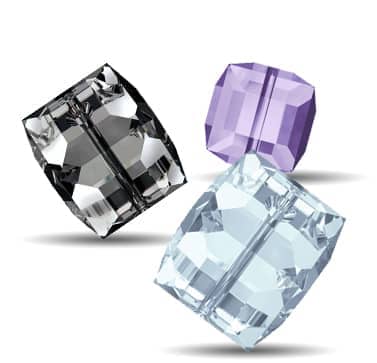
Swarovski Cube Beads
Marcasite Beads and Pendants
Preciosa 10/0 Czech Seed Beads
Crystal Rondelles and Spacers
Preciosa 2.5 X 5mm Twin 2-Hole Seed Beads
Half Moon Bridge Spacers
Mermaid Glass Beads
Gemstone Guru Beads
